How to Copy the Log Files.
It is essential for Cristie support services to have access to log files when dealing with customer support issues.
Log files are an essential component in helping us to answer support tickets quickly and efficiently. They give us background information that help to understand of the cause of most issues.
Here is a guide on how to copy these log files to a remote location, e.g. a shared network folder.
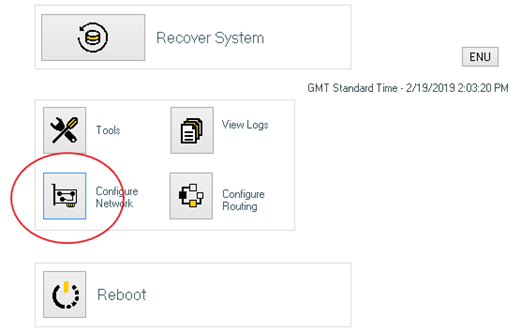
Connect to a network location using standard Map network drive in the Windows GUI. To do this click on the ‘Configure Network’ icon in the Windows PE recovery console
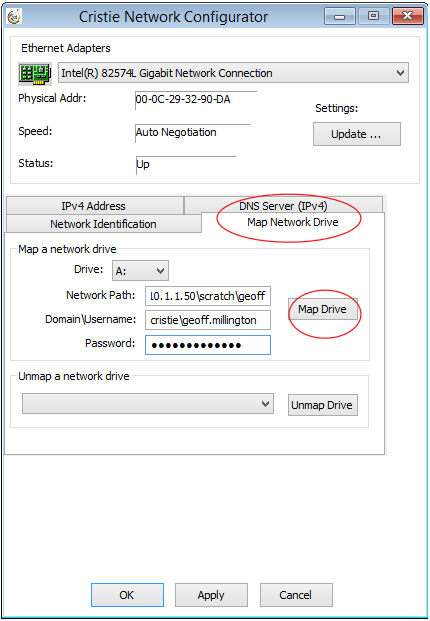
Select the ‘Map Network Drive’ Tab. Choose a Drive letter if required and fill in the details:
-
Network Path: IP Address or Hostname of server\share
-
Access Credentials with write permissions to folder
Then click on the ‘Map Drive’ button.
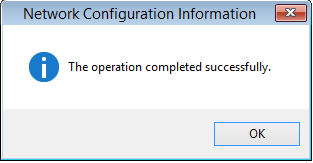
Click ‘OK’ on the confirmation window
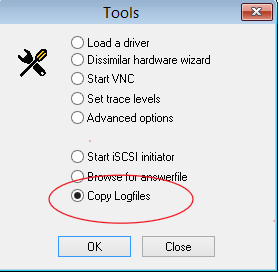
To copy the log files to the newly mapped network share click the ‘Tools Button’
![]()
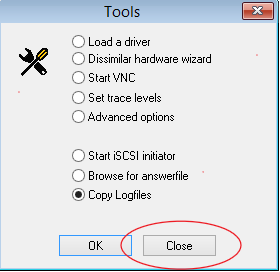
Select the ‘Copy Logfiles’ radio button and click ‘OK’
Click the ‘Browse’ Button
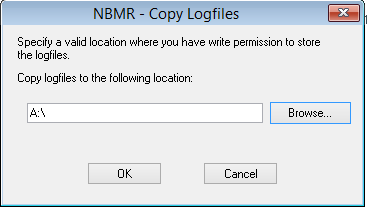
Choose the mapped location entered earlier and select a folder if required
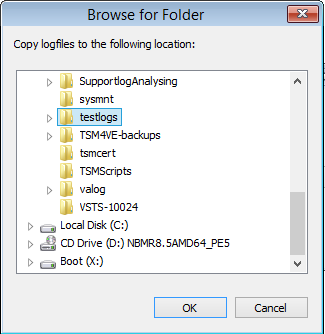
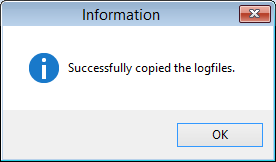
Click ‘OK’ then ‘OK’ again to show confirmation window
Click close on the Tools Menu to return to the main screen.
The log files are now copied over to the chosen folder in .zip format.
You can include them in any reply email if you already have a case open or send them direct to Cristie Support Services using the email address support@cristie.com to generate a new support ticket.
