Starting with version 4.1, there are now three methods of replicating a machine from a source environment to a target environment;
- CloneManager Online File Replication
- CloneManager Online Block Replication
- CloneManager Offline Block Replication
This article covers CloneManager Offline Block Replication.
How is CloneManager Offline Block Replication different?
CloneManager Offline Block Replication is an alternative replication mechanism to what has been previously offered, using a new transport mechanism, and no target live environment, to more efficiently move data from your source system to storage based in your DR environment or chosen cloud. This transport mechanism has been developed with speed and reliability in mind, in order to reduce the overall RPO’s associated with replication.
CloneManager Offline Block Replication also does not use a target live environment for the replication, thus needs no compute resource at the target site. What it does need, is some S3 compliant storage to store the machine images of the replicated system. These machine images can be powered on at any time in order to boot up the replicated system.
Due to the nature of the changes implemented, there are a few more things to think about when deciding which replication method to use.
Which systems support CloneManager Offline Block Replication?
To see a list of supported operating systems for online block. Check our support matrix here
In addition, we also support the following filesystems:
NTFS (Windows only)
ext2
ext3
ext4
xfs
And finally, we only support the following target storage:
Amazon S3
Oracle Object Storage
Amazon Blob Storage
MinIO Storage
How do I use CloneManager Offline Block Replication?
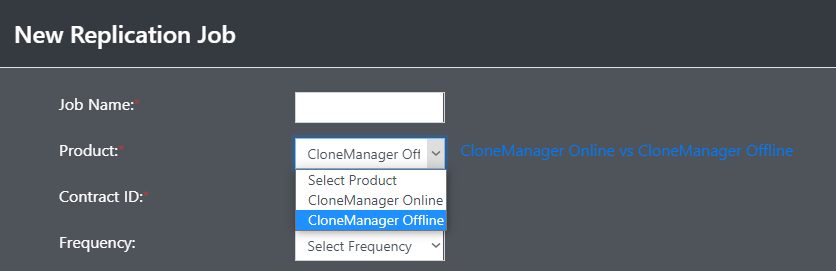
In order to use CloneManager Offline Block Replication, you must first create a new job. CloneManager Offline Block Replication differs in its setup to CloneManager Online Replication, so we’ve separated it out into two, distinct setups.
Once you’ve created the job, you can add some replications to it, by clicking on the “Add Replication” button in the left hand “Actions” sidebar.
![]()
This will bring up the following window, allowing you to select the machine(s) you wish to put into the replication job. Once you’ve selected the machine, you’ll be prompted to enter credentials with administrative access (if not already populated) and to select which target storage you’re targeting.

Depending on the target storage selected, different options will appear underneath, prompting for access details in order to connect to the target storage. If “Oracle” is selected, the screen appears as follows:
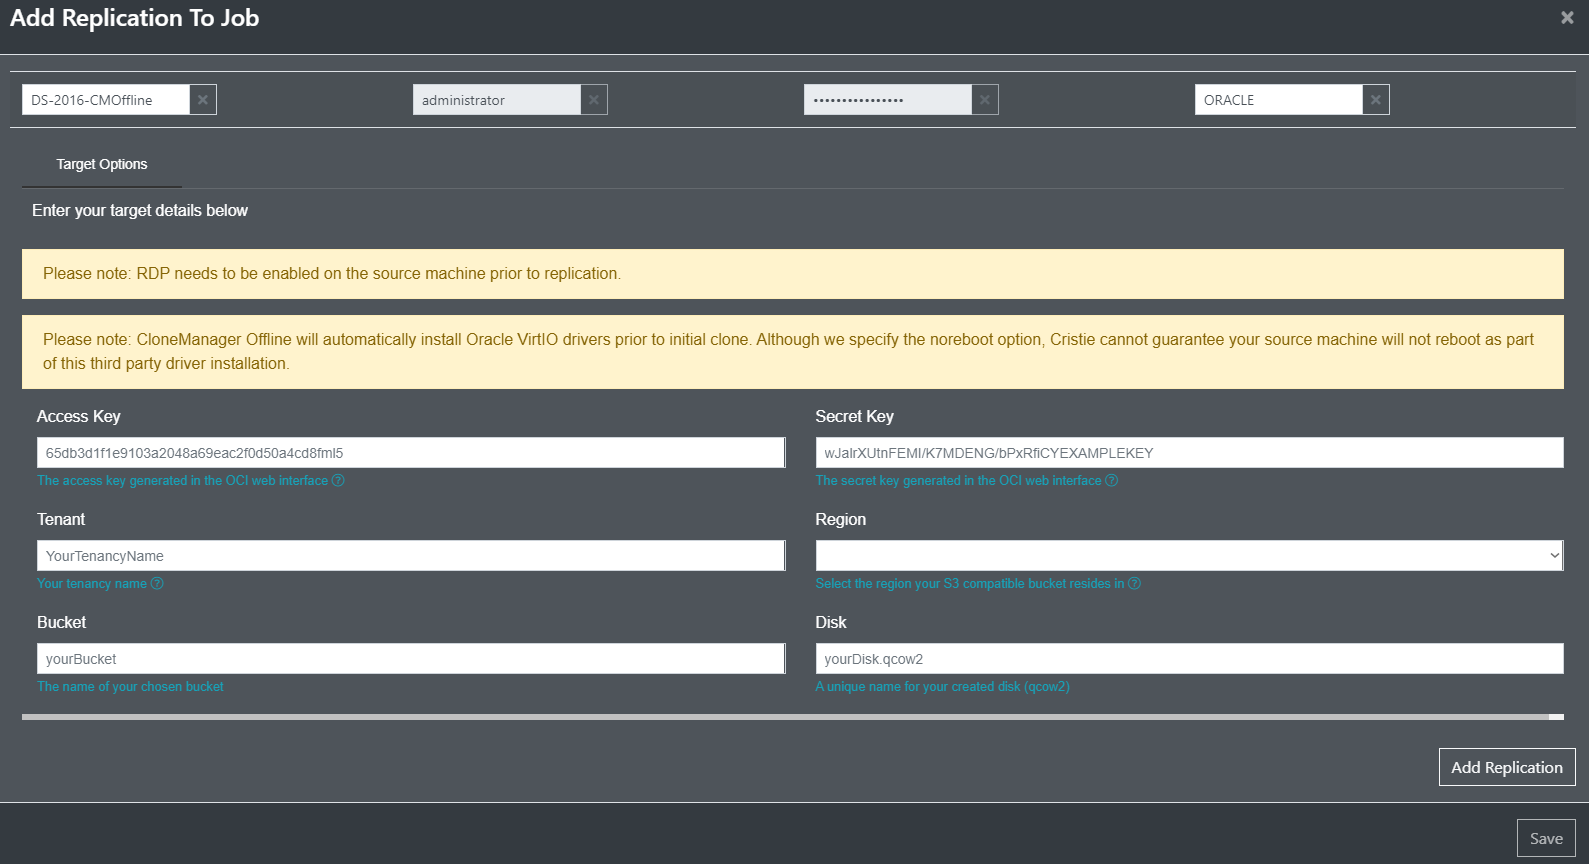
All of the options have their own help text associated with them to aid you in inputting the correct information.
Once you have completed this, you will have added the system to the job, and it will be replicated based upon your schedule attached to the job.
How do I boot my replicated system?
Booting your replicated system depends upon where you’ve replicated it to, however the general approach is that you will need to create a “custom image” out of the files stored in the blob store that represent the system, and then deploy that image to get a running VM.
How do I boot my replicated system in Oracle Cloud?
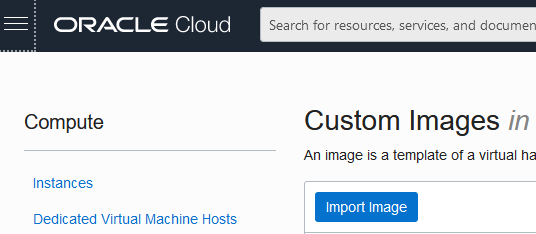
First, navigate to “Custom Images”, from here you can click on “Import Image” to start the process of importing the qcow2 file as a new image.
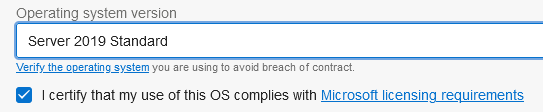
You can then follow the page to select the appropriate settings. When you come down to “Operating system version”, it’s important to select the exact type here, and check any necessary boxes.
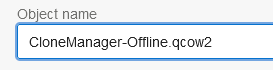
When selecting where the qcow2 file comes from, select “Import from an Object Storage bucket”, then navigate to the bucket where the backup is stored, and finally select the name of the qcow2. This was all configured as part of the job earlier on.


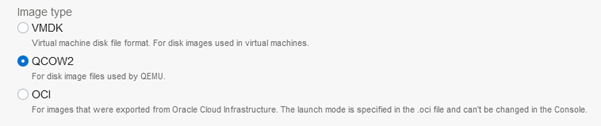
Ensure that “QCOW2” is selected as the “Image type”:
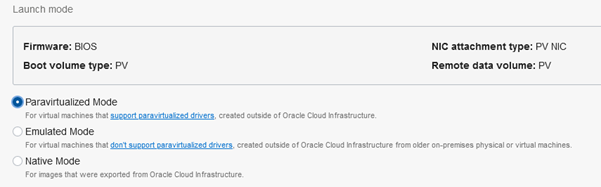
For the “Launch Mode”, use the relevant settings for Linux systems:
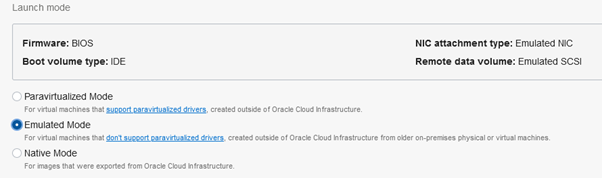
Or these settings for Windows systems:
This image can now be imported. Once this has completed, click “Create Instance” to deploy the system:
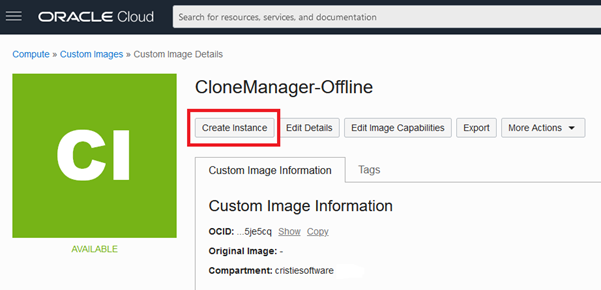
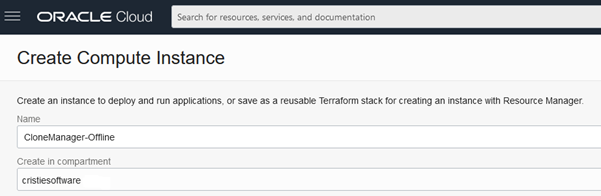
You can pick a more meaningful name for the system in the following dialog:
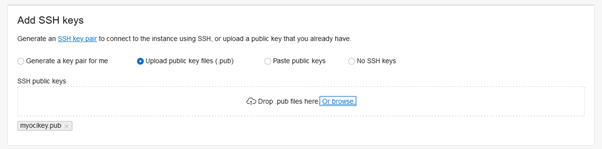
If you wish to SSH directly into the system, you can upload your own SSH keys, or let Oracle Cloud generate them for you in the following step. It is important that this is done, otherwise the only way of obtaining a terminal connection to the new system is via VNC, which may make remote management troublesome.
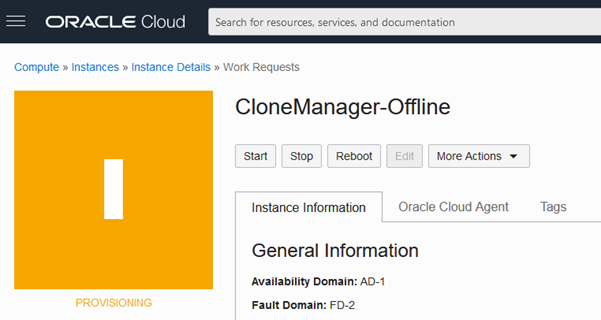
Once this is all done, the instance should show as being provisioned. Once this is done, it should start automatically.
How do I boot my replicated system in Microsoft Azure?
First, navigate to the “Images” section in the Azure portal and click “New” or “Add”.
Fill out the form with the details of the image to be created, and when prompted, select the VHD file created as part of the replication. Ensure you select the correct OS type for the system, and the correct “VM Generation”. If the original system was UEFI boot, this will need to be “Gen 2”. If the original system was BIOS booted, this will need to be “Gen 1”.
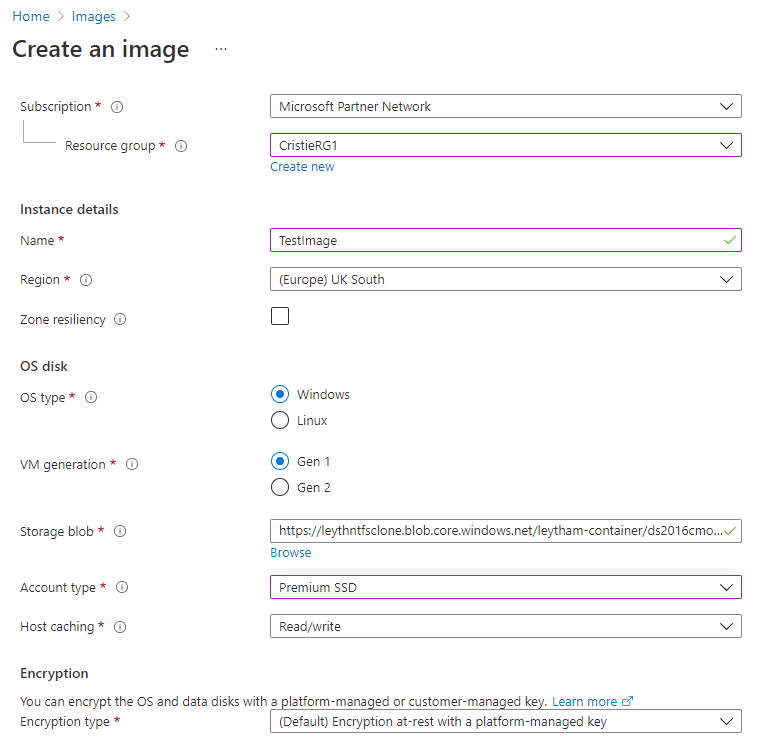
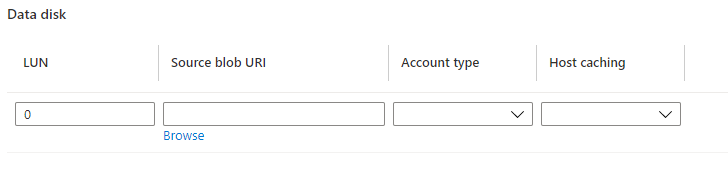
If you have a system with multiple disks, then the “Storage blob” in the dialog above will need to be the disk that contains the boot code for the operating system. Other disks can be attached by clicking “Add Data Disks” and filling out the following dialog.
How do I boot my replicated system in AWS?
The AWS user interface does not currently provide a way to convert a blob stored in Amazon S3 to a usable machine image. Because of this, we have created a small script that will do it for you.
The script can be downloaded from the following location: https://source.cristie.com/customer_scripts/create_ami.py
This must be ran with python 3, an example can be found in the header of the file. The access key and secret provided should match the ones used when the replication job was created. Once the script has completed, it will generated an “Imported image name”. This is used in order to create the instance.
To create the instance from the image, navigate to Amazon EC2 in your desired region, go to the instances view:
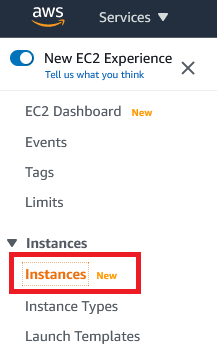
And click launch instances:
![]()
When selecting the AMI, click on “My AMIs”:

And now you can search based upon the previous resultant “Imported image name”, like so:

Then follow the rest of the wizard steps in order to create the system.