If a backup contains a storage pool a new tab will appear under advanced configuration when clicking the cog icon.
Selecting “Configure Storage Pool” will allow you to map disks of the storage pools to match the original system

Select the storage pool from the left pane, this will display the layout of this storage pool in the right pane. Here you can see the original storage pool layout, the available disks and the target layout.
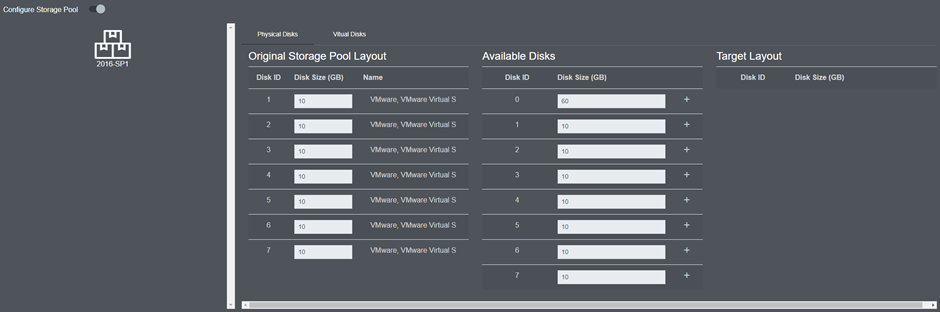
Using the “+” icon beside the available disks you can now match the target layout with the original layout. If you need to remove a disk from the target layout you can press the “-“ icon next to the target disk.

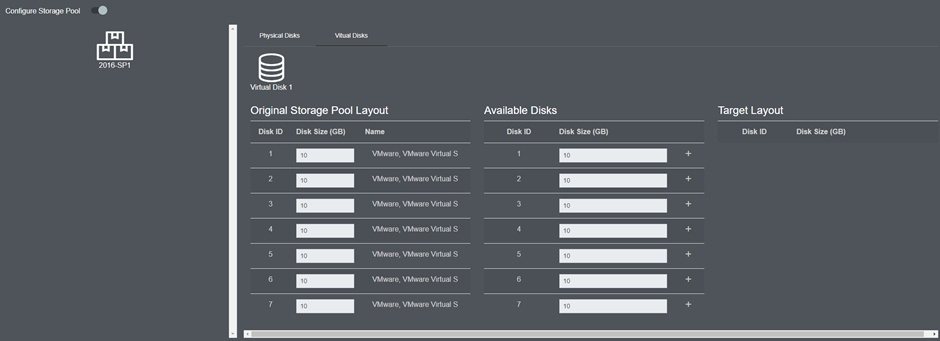
Once you have configured the physical disk mapping you need to configure the virtual disk mapping.
This is achieved in the same way as physical disks. Select the “Virtual disks” heading and select the virtual disk you would like to configure. This will display the original storage pool layout, the available disks, and the target layout.
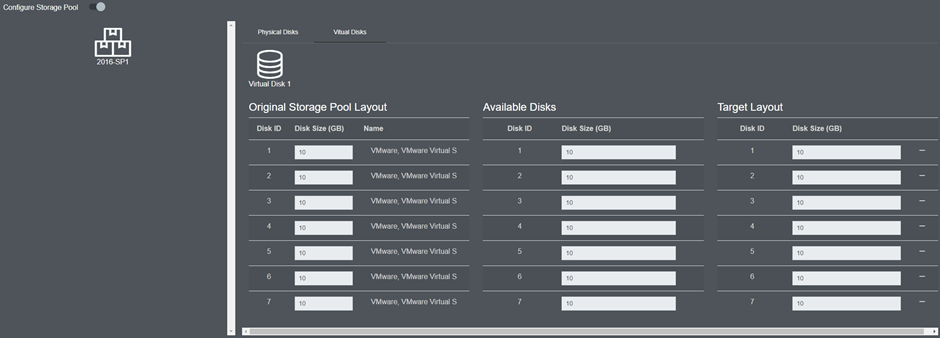
After mapping the disks, this will be reflected on the target system.