2012R2 and above based Hyper-V server shows Authentication error
Due to changes to Microsoft Hyper-V, the following changes are required before you can add Hyper-V to the Cristie VA. Attempting to discover Hyper-V without making these changes will result in Authentication errors.
The following steps are to be run on your Hyper-V Server and not the machine running the Cristie VA:
-
Ensure server service is running
-
Ensure remote registry service is running
-
Navigate to control panel and select Administrative Tools → Local Security Policy
The below changes can be applied using group policy. By default the local Administrators group has sufficient default permissions and as such these changes may not be required if you are using a user account that is a member of this group.
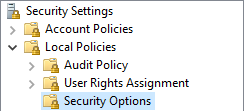
3a. Navigate to Security Settings → Local Policies → Security Options
3b. Double click “DCOM: Machine Access Restrictions”, edit the security and add the required user with permissions for “Remote Access”
3c. Double click “DCOM: Machine Launch Restrictions”, edit the security and add the required user/group with permissions for “Local Launch” and “Remote Launch”
-
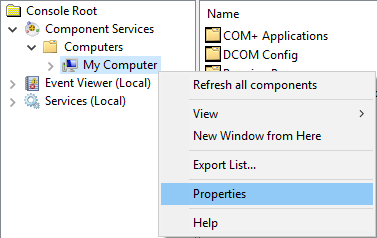
Navigate to control panel and select Administrative Tools → Component Services → Computers
By default the local Administrators group has sufficient default permissions and as such these changes may not be required if you are using a user account that is a member of this group.
4a. Right click My Computer and select Properties
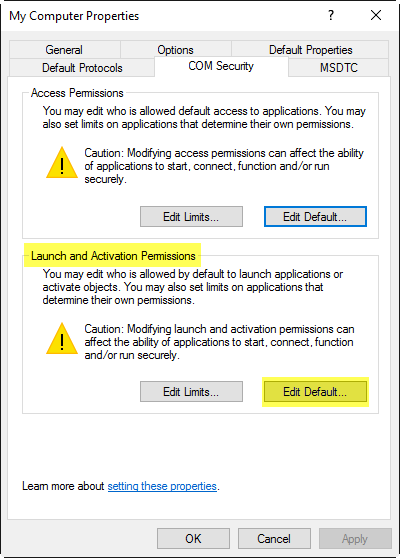
4b. Click the Com Security tab
4c. In the Access Permissions section, click Edit Default and add the required user with permissions for Remote Access
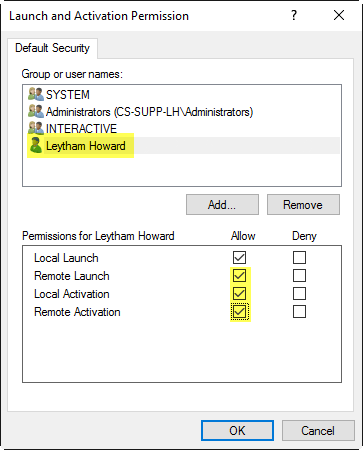
4d. In the Launch and Activation Permissions section, click Edit Default and add the required user/group with permissions for Local Launch and Remote Launch
-
Configure the Windows Firewall, if the Firewall is enabled, to allow COM access
If you are using a Core version of Windows Server the rule COM+ Remote Administration (DCOM-In) may not be available. Please see 5b to create the rule.
5a. (GUI) Enable the Inbound rule File and Printer Sharing (SMB-In) and COM+ Remote Administration (DCOM-In)
In some instances, enabling COM+ Remote Administration (DCOM-In) may not permit access to the dllhost.exe. If you receive Connect timed out or the generic error code 0x8001FFFF you should create a new rule for the application %SystemRoot%\System32\dllhost.exe for any protocol and all ports - you may limit the scope of this rule to the Cristie Virtual Appliance address.
5b. (Powershell) You can enable the Firewall rules using powershell as follows:
Enable Inbound SMB access:
Set-NetFirewallRule -Name FPS-SMB-In-TCP -Enabled TrueEnable Inbound COM Surrogate access:
Set-NetFirewallRule -Name ComPlusRemoteAdministration-DCOM-In -Enabled TrueIf ComPlusRemoteAdministration-DCOM-In does not exist you can create the rule using the command below:
New-NetFirewallRule -Name ComPlusRemoteAdministration-DCOM-In -DisplayName "COM+ Remote Administration (DCOM-In)" -Program "%SystemRoot%\system32\dllhost.exe" -Enabled True -
Modification to a registry key is required for permitting access to the WBEM Scripting Locator
The following steps require you to open and run Regedit. If you are not familiar with this, please forward these steps to your systems Administrator.
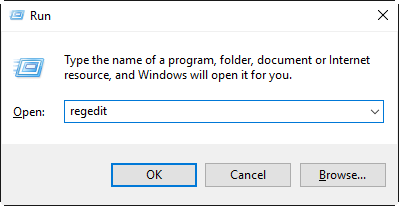
6.1. Open Regedit
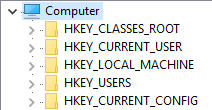
6.2. Select HKEY_CLASSES_ROOT
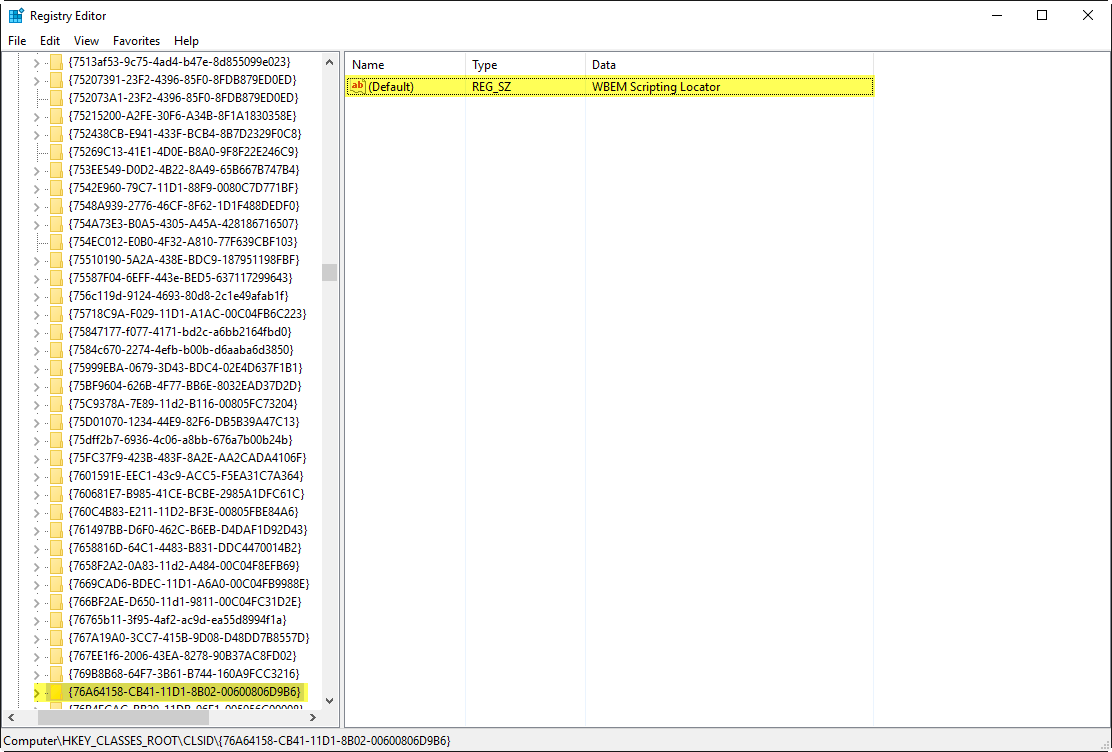
6.3. CTRL+F and search for 76A64158-CB41-11D1-8B02-00600806D9B6
The key found should be WBEM Scripting Locator
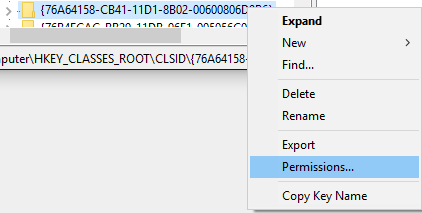
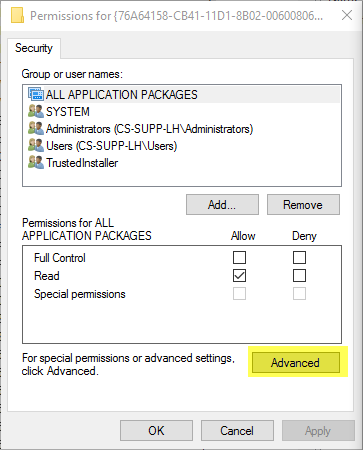
6.4. Right click and select Permissions
6.5. Change the owner to the Local Administrators group
6.6. Add the user/group required with Full Control permissions and select Replace all child object permission entries with inheritable permission entries from this object
6.7. Click Apply
6.8. Change the owner back to TrustedInstaller (you may need to set the user to NT Service\TrustedInstaller) (see step 5 for further instructions)
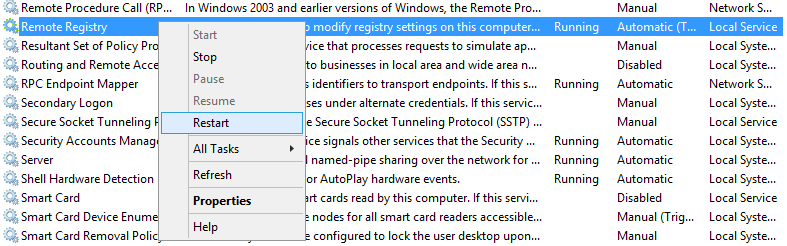
6.9. Restart the Remote Registry Service


Error Codes
0x00000005 - Check that the permission modifications (point 3 and 4) and registry modification has been performed (point 6)
0xC0000001 - Refer to point 5a for firewall rules (SMB)
0x80020009 - Try using the IP address of the Hyper-V server if you’re using the hostname or FQDN
0x8001FFFF - If Windows Firewall is enabled you should create a new rule for the application %SystemRoot%\System32\dllhost.exe for any protocol and all ports - you may limit the scope of this rule to the Cristie Virtual Appliance address.