For customer convenience, we have uploaded qcow2 versions of our images ready for use on OCI. All you need to do is create a custom image.
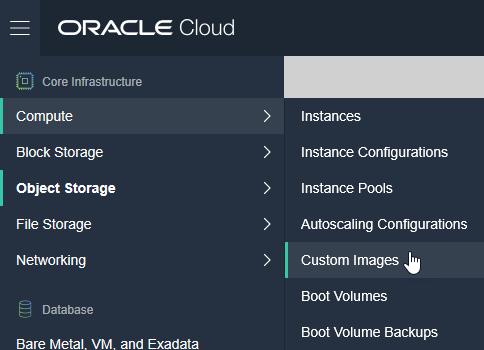
- Select compute → Custom Images

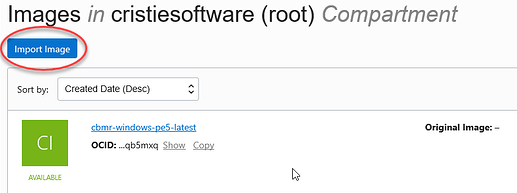
2. Select Import Image (if you are updating images, remember to remove/rename any existing images)
To allow the Virtual Appliance to pre-select the correct image, you must ensure you use the names as mentioned in the table below (Image Name).
ABMR
CBMR
CoBMR
CloneManager
NBMR
TBMR
Windows only changes
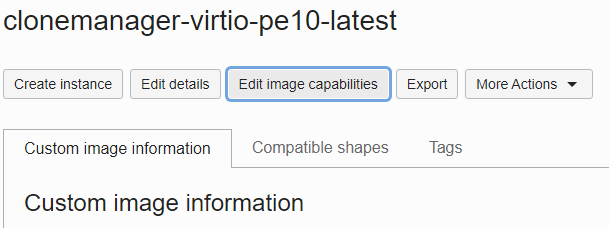
After the Windows image has been created you must edit the image capabilities to ensure the image is bootable and the block storage can be attached.
Click the “Edit image capabilities” button after the image has been imported (this can not be clicked during importing)

With the new pane open, change the following options:
Firmware: BIOS / UEFI_64
Launch Mode: EMULATED or PARAVIRTUALIZED (Paravirtualized is recommended for performance)
NIC attachment type: E1000 (Emulated Launch Mode) or PARAVIRTUALIZED (Paravirtualized Launch Mode)
Boot volume type: All selected; Preferred: Paravirtualized
Local data volume: All selected; Preferred: Paravirtualized
Remote data volume: All selected; Preferred: Paravirtualized
